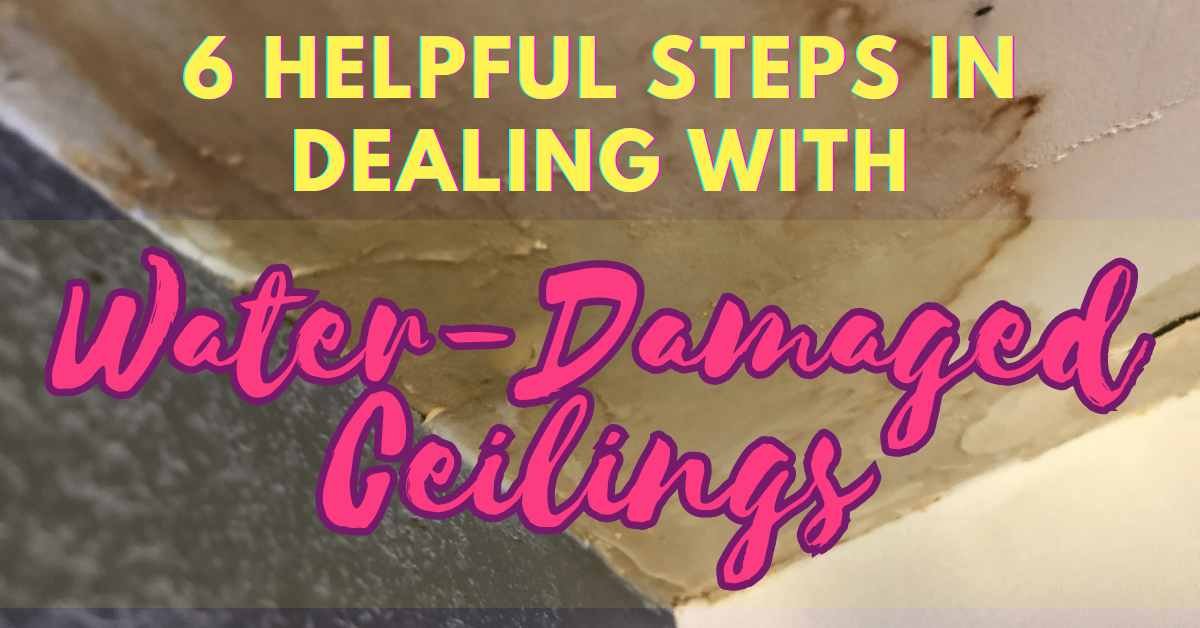
 Have you noticed dark spots forming on your ceiling? The spots are usually signs of water leaking onto your ceiling from either a burst pipe or possibly a bathroom faucet. It could even be coming from a leaking roof. The common factor in water-damaged ceilings is that you cannot see where the water is coming from easily and do not know the extent of the damage until you have broken out the hammer and started demolition. Not only can this be potentially hazardous to the floors above but you can also start to grow mold.
How do you repair water-damaged ceilings?
Water-Damaged Ceilings: 5 Steps to Follow
Repairing water-damaged ceilings can be a daunting task, but with the right approach, it’s possible to restore your ceiling to its former glory. Whether the damage is caused by a burst pipe, a leaking roof, or a faulty bathroom faucet, taking immediate action is crucial to prevent further harm and potential hazards such as mold growth. In this guide, we will outline five essential steps to effectively deal with water-damaged ceilings. These will empower you to take control of the situation and ensure a successful repair process. By following these guidelines, you can mitigate the damage, restore the integrity of your ceiling, and create a safe and healthy environment in your home or business.
1. Resist the Urge to Panic
The first thing you should do is to resist the urge to panic. Panic is our body’s natural response to a situation that is beyond our control but water damage does not have to be beyond our control.
2. Identify the Source of the Leak
The next thing you need to do is to identify the source of the leak. Identifying the source of the water damage on your ceiling is crucial, as it allows you to assess the complexity of the repair task ahead.
3. Eliminate the Source of Leak
If the leak is small and the source of contamination is not categorized as Blackwater, and if you possess the necessary skills with tools and ceilings, you may consider tackling the project yourself.
4. Drying the Water-Damaged Areas
Once you have successfully eliminated the source of the leak, focus on drying the water-damaged ceilings above and below. Utilizing vacuums and fans proves to be highly effective in expediting the drying process and preventing further damage caused by moisture.
5. Call a Professional Water Remediation Company
Call a professional water remediation company to replace the areas with bigger damage. If one is dripping through the ceiling or the ceiling drywall is buckling it’s likely that the modern ceiling will need to be replaced. Always be very careful if you know this the ceiling starting to bulge. That is a large amount of water just above your head. As always, proceed cautiously, and when in doubt call in a water damage restoration company to do the work for you. The water damage restoration company will assess the damage and give you a list of costs. You can then present this list to your insurance company and be sure that everything that needs to be covered will be covered rather than vaguely tell them that you have had damage.
6. Be Patient
After you have contacted both the restoration company and the insurance it’s time for you to take on the hardest job, being patient. Water damage is not dealt with quickly if it is to be dealt with properly. Do not try and rush proceedings because if the job is not done properly the water damage may persist and come back to haunt you.